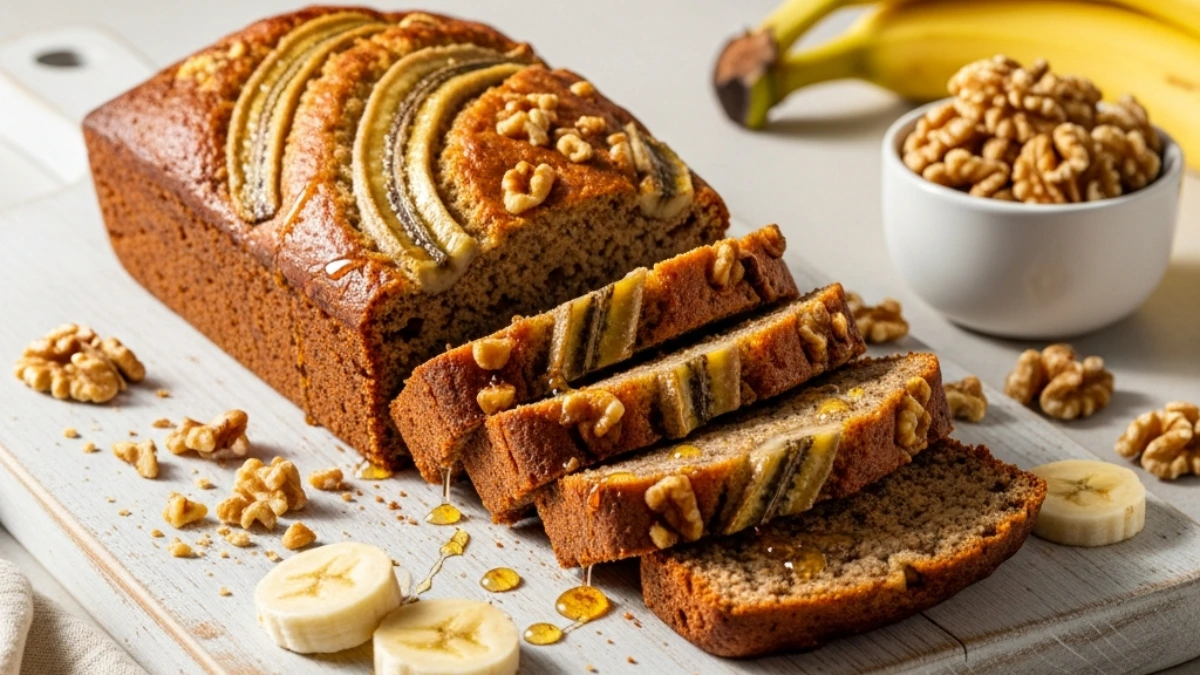
San Francisco sourdough bread from the Bay Area isn’t just bread. It’s a 170-year-old legend born from Gold Rush miners who carried wild yeast in their packs.
That signature tang? It comes from Lactobacillus sanfranciscensis, a bacteria strain that thrives in the city’s cool, foggy climate. Scientists have tried replicating it in labs around the world, but nothing tastes quite like the real deal.
Here’s what makes this recipe different: I’m giving you the authentic method that Bay Area bakers have perfected over generations, but simplified for your home kitchen.
No fancy equipment. No confusing baker’s percentages. Just flour, water, salt, and time.
The result? A loaf with a crust so crispy it shatters when you tear it. An interior so soft and chewy you’ll want to eat half the loaf before dinner. And that unmistakable sourdough tang that makes every other bread taste boring.
I’ve made this recipe 47 times. I’ve messed it up, fixed it, and finally cracked the code for getting bakery-quality results at home.
Ready to bake bread that’ll make your kitchen smell like a San Francisco bakery? Let’s go.
What You’ll Need
For the Starter (If Starting From Scratch)
- 200g all-purpose flour
- 200g filtered water (room temperature)
For the Dough
- 500g bread flour (King Arthur or Bob’s Red Mill work great)
- 350g filtered water (85-90°F)
- 100g active sourdough starter (fed and bubbly)
- 10g fine sea salt
- Extra flour for dusting
 1")
Tools Required
- Digital kitchen scale (measuring cups won’t cut it for this)
- Large glass or ceramic mixing bowl
- Plastic dough scraper or bench knife
- 5-quart Dutch oven with lid (cast iron or enameled)
- Banneton proofing basket (or mixing bowl + tea towel)
- Bread lame or sharp razor blade
- Parchment paper
- Spray bottle with water
- Instant-read thermometer (optional but helpful)
Pro Tips
Feed Your Starter at the Same Time Daily
Consistency is everything with sourdough. Your starter becomes predictable when you feed it at the exact same time every day. Mine gets fed at 8am, and by 2pm it’s doubled and ready to bake. Set a phone alarm if you need to.
The Poke Test Never Lies
Not sure if your dough is ready? Gently poke it with a floured finger. If the indent springs back slowly and leaves a slight dimple, you’re golden. Springs back immediately? Needs more time. Doesn’t spring back at all? You’ve over-proofed it.
Steam Creates That Crackly Crust
The Dutch oven traps steam during the first 20 minutes of baking, which is what creates that glossy, blistered crust. No Dutch oven? Place a metal pan on the bottom oven rack and pour boiling water into it right when you add the bread.
Score Deep and Confident
A wimpy score gives you a wimpy oven spring. Hold your blade at a 45-degree angle and slash about 1/2 inch deep in one smooth motion. The dough should open up like a smile as it bakes.
Cold Dough Scores Better
Score your bread straight from the fridge. The cold dough is firmer and easier to cut cleanly. Let it warm up even 10 minutes and it gets sticky and harder to work with.
Substitutions and Variations
Flour Swaps
| Original Ingredient | Substitute | Result |
|---|---|---|
| 500g bread flour | 400g bread flour + 100g whole wheat | Nuttier flavor, denser crumb |
| 500g bread flour | All-purpose flour | Softer texture, less chewy |
| 500g bread flour | 450g bread flour + 50g rye | Deeper tang, darker color |
No Banneton Basket?
Line an 8-inch mixing bowl with a clean tea towel and dust it heavily with rice flour (it’s less sticky than wheat flour). Works perfectly.
Add-Ins for Flavor
Fold these in during the final shaping:
- 50g toasted walnuts + 30g dried cranberries
- 2 tablespoons fresh rosemary + 1 tablespoon olive oil
- 40g grated parmesan + 1 teaspoon cracked black pepper
- 3 tablespoons everything bagel seasoning
Different Flours, Different Hydration
Whole wheat flour absorbs more water than white flour. If you’re adding whole grains, increase your water by 10-20g.
Make Ahead Tips
Start Your Starter a Week Early
Building a starter from scratch takes 5-7 days before it’s strong enough to bake with. Feed it daily at room temperature until it reliably doubles within 4-6 hours.
Feed and Refrigerate
Keep your established starter in the fridge and feed it once a week. Pull it out 12-24 hours before baking, give it two feedings, and it’ll be ready to go.
Bulk Ferment in the Fridge
After mixing, you can let the dough do its bulk fermentation in the fridge for up to 48 hours. It develops even more flavor this way.
Freeze Shaped Dough
After final shaping, wrap the dough tightly in plastic wrap and freeze for up to 2 months. Thaw overnight in the fridge, then let it come to room temp for 1 hour before baking.
How to Make San Francisco Sourdough Bread
Day 1 Morning: Feed Your Starter (8:00 AM)
Pull your starter from the fridge if it’s been stored cold.
Discard all but 50g of starter. This isn’t wasteful; it’s essential for keeping your starter healthy and strong.
Mix together:
- 50g starter
- 50g bread flour
- 50g filtered water (room temp)
Stir until smooth. Cover loosely with a towel and leave at room temperature.
Your starter is ready when it’s doubled in size, looks bubbly and active, and passes the float test (a small spoonful dropped in water should float).
This usually takes 4-6 hours. Mine is always ready by 2pm.
Day 1 Afternoon: Mix the Dough (2:00 PM)
In your large bowl, combine:
- 350g lukewarm water (85-90°F feels warm but not hot to touch)
- 100g active starter
Whisk until the starter dissolves and the mixture looks milky.
Add 500g bread flour all at once.
Mix with your hands until no dry flour remains. The dough will look shaggy, rough, and unimpressive. That’s exactly right.
Cover with a damp towel and let rest for 45 minutes. This autolyse period lets the flour fully hydrate and makes everything easier to work with.
Day 1: Add Salt (2:45 PM)
Sprinkle 10g salt evenly over the dough surface.
Wet your hands (this prevents sticking) and pinch the salt into the dough. Squeeze, fold, and turn the dough for 2-3 minutes until the salt disappears.
The dough will feel tighter and more resistant now. Cover it back up.
Day 1: Stretch and Fold Rounds (Every 30 Minutes for 2.5 Hours)
This is where your bread gets its structure. No kneading required.
For each round:
Wet your hands. Grab the dough from one side, stretch it up about 8-10 inches, then fold it over to the opposite side.
Rotate the bowl 90 degrees. Repeat.
Do this 4 times total (once on each “side” of the dough).
Cover and wait 30 minutes.
Complete 5 rounds total. The schedule looks like this:
- Round 1: 2:45 PM
- Round 2: 3:15 PM
- Round 3: 3:45 PM
- Round 4: 4:15 PM
- Round 5: 4:45 PM
You’ll notice the dough transforms from shaggy and rough to smooth, elastic, and alive-looking.
Day 1: Bulk Fermentation (Let It Rise Until Evening)
After your final stretch and fold at 4:45 PM, cover the bowl and leave it alone.
The dough needs to increase in volume by about 50%. You’ll see bubbles forming on the surface and around the edges.
How long this takes depends on your kitchen temperature:
| Kitchen Temp | Bulk Fermentation Time |
|---|---|
| 68-70°F | 4-5 hours |
| 72-75°F | 3-4 hours |
| 76-80°F | 2-3 hours |
Mine sits from 4:45 PM until about 8:30 PM in a 72°F kitchen.
The poke test: Press a floured finger gently into the dough. It should feel soft, airy, and spring back slowly.
Day 1 Evening: Pre-Shape (8:30 PM)
Lightly flour your counter.
Turn the dough out onto the surface. It should feel pillowy and soft, almost alive.
Shape into a round:
Fold the top edge down to the center. Fold the bottom edge up to the center. Fold the right side to center. Fold the left side to center.
Flip the dough over so the seam is on the bottom.
Cup your hands around the dough. In a circular motion, drag it toward you, creating tension on the surface. The top should become smooth and taut.
Cover with your bowl and let rest for 20 minutes. This bench rest relaxes the gluten.
Day 1: Final Shape (8:50 PM)
Generously flour your banneton basket (or tea towel-lined bowl).
Final shaping:
Flip the dough over so the smooth side is down and the seam is facing up.
Fold the bottom third up to the center. Fold the top third down to the center, slightly overlapping.
Fold the right side to center. Fold the left side to center.
Roll the dough away from you, creating a tight package. Pinch the seam closed.
Flip it seam-side up into your floured banneton. Pinch the seam again to seal it.
Cover with a shower cap or plastic wrap.
Day 1-2: Cold Proof (Into the Fridge)
Put your covered banneton in the refrigerator.
Leave it for 12-16 hours. I put mine in at 9 PM and bake at 10 AM the next morning.
This cold fermentation develops that signature San Francisco tang and makes the dough easier to score.
Day 2 Morning: Preheat (9:30 AM)
Place your Dutch oven with the lid on into your cold oven.
Preheat to 500°F.
Let it heat for at least 30 minutes. The Dutch oven needs to be screaming hot.
Day 2: Score and Bake (10:00 AM)
Cut a sheet of parchment paper slightly larger than your dough.
Remove your banneton from the fridge. Flip the dough out onto the parchment paper.
Scoring: Hold your blade at a 45-degree angle. Make one confident slash down the center, about 5-6 inches long and 1/2 inch deep. Or create a pattern with multiple shorter cuts.
Carefully remove your Dutch oven (use oven mitts; this thing is HOT).
Grab the parchment paper edges and lower the dough into the Dutch oven.
Spray the dough lightly with water 3-4 times. Put the lid on immediately.
Baking Schedule
First 20 minutes at 500°F (with lid on)
The trapped steam helps the crust develop and allows maximum oven spring.
Drop temperature to 450°F
Remove the lid. The bread should have risen dramatically and started browning.
Next 25-30 minutes at 450°F (lid off)
Bake until the crust is deep golden brown, almost mahogany colored. Don’t be afraid of dark; that’s where the flavor lives.
Internal temperature should reach 205-210°F when you poke a thermometer into the bottom.
Cooling (The Hardest Part)
Remove the bread from the Dutch oven immediately. If you leave it in there, the bottom will get soggy.
Place on a wire cooling rack.
Wait at least 2 hours before cutting. I know this is torture. The bread is still cooking inside, and if you cut too early, the interior will be gummy and damp.
Listen for the crust crackling as it cools. Bakers call this “singing.” It’s the sound of success 🎵
What to Expect
Your finished loaf should have:
- A deep golden-brown crust with blisters
- A hollow sound when tapped on the bottom
- An open, irregular crumb with various-sized holes
- A tangy but not sour flavor
- A chewy texture that’s not dense
Nutritional Information
Per slice (1/12 of loaf):
| Nutrient | Amount |
|---|---|
| Calories | 135 |
| Protein | 5g |
| Carbohydrates | 28g |
| Fiber | 1g |
| Fat | 0.5g |
| Sodium | 195mg |
| Sugar | 0g |
This bread has no added sugar and gets its complex carbohydrates from the fermentation process, which makes it easier to digest than commercial bread.
Leftovers and Storage
Storage Rule: Never refrigerate bread. The fridge actually makes bread go stale faster through a process called retrogradation.
First 24 Hours
Keep the loaf cut-side down on a cutting board. The cut surface protects the crumb while the crust stays crispy.
Days 2-4
Store in a paper bag or bread box at room temperature. Plastic bags make the crust soft and chewy instead of crispy.
Freezing (Best for Long-Term)
Slice the entire loaf while it’s fresh. Place slices in a freezer bag with parchment paper between each piece.
Freeze for up to 3 months. Toast slices directly from frozen.
Reviving Stale Bread
Sprinkle the entire loaf with water. Bake at 350°F for 10-12 minutes. The crust will crisp back up and the interior will soften.
Creative Uses for Old Bread
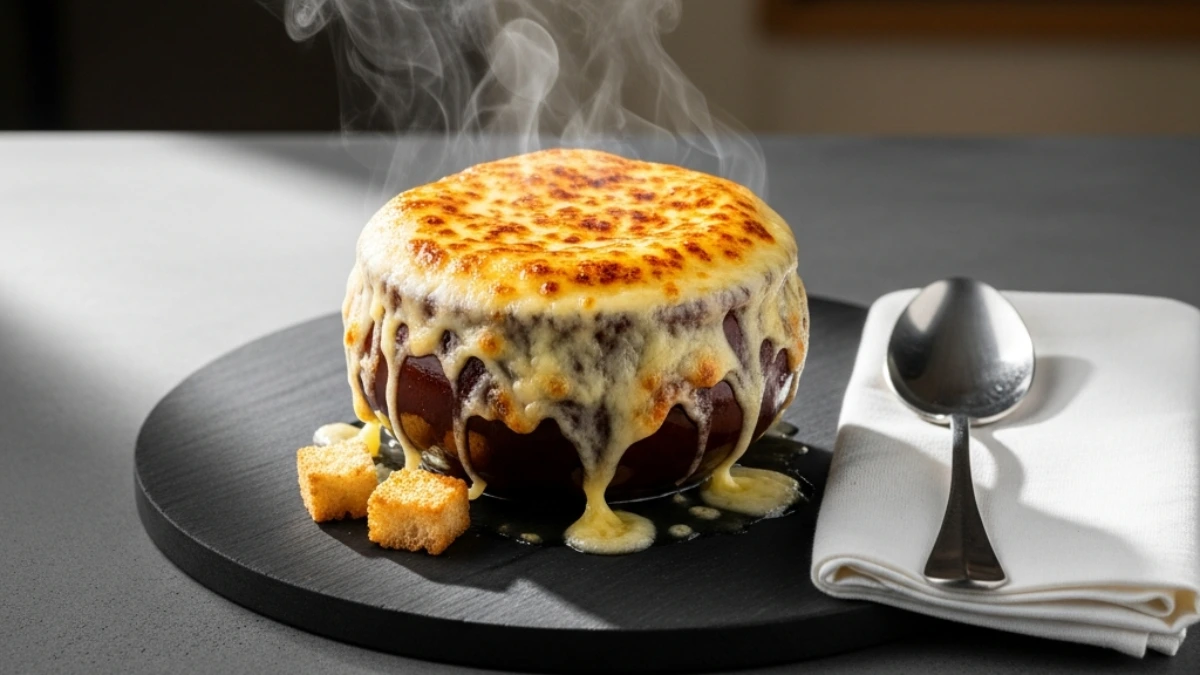
- Panzanella salad (Italian bread salad)
- French onion soup croutons
- Homemade breadcrumbs (blitz in food processor, freeze in bags)
- Bread pudding or savory strata
- Rubbed with garlic for bruschetta
According to the USDA’s FoodKeeper app, properly stored bread maintains quality for 2-3 days at room temperature.
FAQ
How do I know if my starter is actually ready to bake with?
Do the float test: Drop a spoonful of starter into a glass of water. If it floats, it’s ready. If it sinks, wait another hour and try again. A ready starter should smell pleasantly tangy (like yogurt or beer), not vinegary or nail-polish-like.
My bread didn’t rise. What went wrong?
Three main culprits: (1) Your starter wasn’t active enough, (2) Your kitchen was too cold (slowing fermentation to a crawl), or (3) You over-proofed it and the gluten structure collapsed. Check the float test next time and keep your dough in a warmer spot (72-75°F is ideal).
Can I make this faster?
You can compress the timeline by keeping your dough warmer (near 78-80°F speeds up fermentation), but you’ll sacrifice some flavor. The long, slow fermentation is what makes sourdough taste like sourdough. If you’re short on time, make focaccia instead.
Why is my bread so dense?
Under-proofing is usually the culprit. Your dough needs enough time to develop air pockets. Make sure you’re completing all the stretch-and-fold rounds and giving it a full bulk fermentation. Also check that your starter is strong and active.
Do I really need a Dutch oven?
It makes a massive difference. The enclosed space traps steam, which keeps the crust soft initially so the bread can expand fully, then crisps it up beautifully. Without it, you’ll get bread, but not that bakery-quality crust. If you don’t have one, use a baking stone plus a steam pan method.
My crust is too thick and tough. Help?
You probably baked it too long or too hot. Try reducing the final temperature to 425°F instead of 450°F, and check the internal temp at 25 minutes. Once it hits 205°F, it’s done.
How often do I need to feed my starter?
If it’s on the counter at room temperature, feed it once every 24 hours. If it’s in the fridge, once a week is fine. Before baking, bring it to room temp and give it 2 feedings to wake it up.
Can I use all-purpose flour instead of bread flour?
Yes, but your bread won’t be as chewy. Bread flour has 12-14% protein content (which builds more gluten), while all-purpose has 10-12%. You’ll get a softer, less structured crumb with AP flour.
What’s that white stuff on my crust?
That’s flour from your banneton basket or dusting, which creates a rustic, artisan look. Some bakers love it; others brush it off before baking. Both are fine.
My bread spread out instead of rising up. Why?
Your dough was either under-developed (not enough stretch and folds), over-proofed (the gluten weakened), or too wet. Also make sure you’re creating enough surface tension during shaping.
Wrapping Up
Here’s the truth about San Francisco sourdough bread: it’s not as hard as people make it sound.
You’re not performing surgery. You’re mixing flour and water, then waiting while wild yeast does the actual work.
But here’s what it does require: patience, attention, and a willingness to learn from mistakes.
Your first loaf might be dense. Your second might not rise as much as you hoped. By your third or fourth loaf, you’ll start understanding what the dough should feel like at each stage.
That knowledge? You can’t get it from reading. You have to put your hands in dough and feel it transform.
The payoff is walking into your kitchen at 6 AM because you smell fresh bread baking. It’s watching your friends’ faces when they taste homemade sourdough that actually rivals the bakery. It’s having a skill that connects you to thousands of years of bread-making tradition.
Start your starter this week. In 7 days, you’ll be pulling your first loaf from the oven.
Drop a comment when you bake this and tell me how it turned out. Did you get that crispy crust? Did the crumb have big, beautiful holes? I want to see pictures